
Screen printing
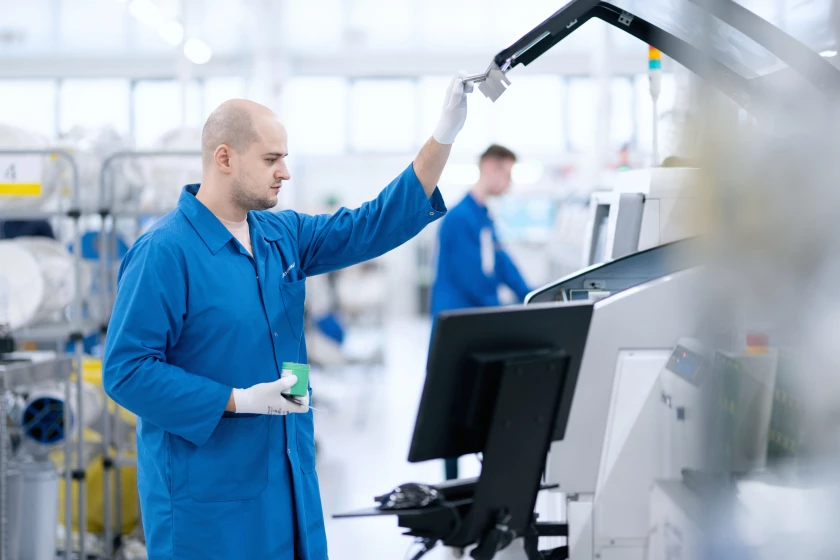
Marked PCB boards are delivered in a raw state and put on racks by the surface mount technology (SMT) line operator. Automated loaders, then move the boards onto the SMT line. The PCB boards need to be delivered to the line in the proper quantity and flow. They begin to move on the conveyor, starting the screen-printing process.
Once the SMT line has been programmed and the selected product programme has been confirmed, the solder paste printer is ready. The SMT operator applies the solder paste to the metal stencil. This paste is made of tiny pieces of metal solder and tacky flux that stick to the metal parts of the printed circuit board. The flux in the solder paste holds all the parts in place until the board is heated in the reflow oven.
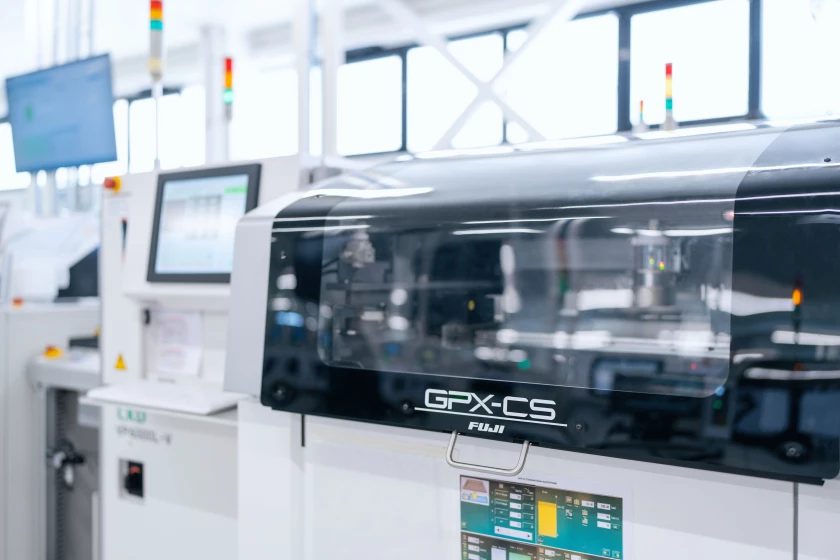
We use automatic screen printers, which are supplied with a machine vision system that ensures that the stencil and the printed circuit board are correctly aligned, allow to apply different squeegee pressure on the parts of the board and provides high accuracy screen printing of very small parts. Double lanes can simultaneously assemble both sides of the PCB board, which fastens the assembly process.

![]()